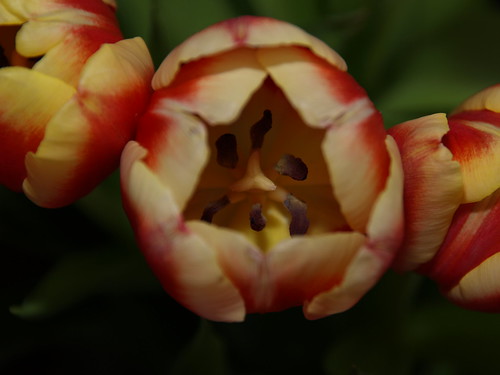
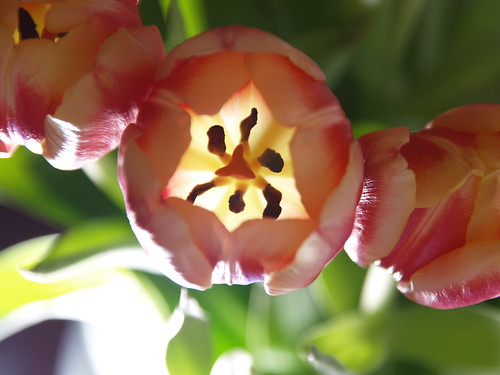
This post was prompted by a question I am asked often- what kind of lens should I buy with my new dSLR (that question usually follows- 'I have a point-and-shoot for 2 years. Which dSLR should I get?'). Now I am by no means any sort of expert in photography, although I have been waving my Olympus E-330 around a lot these days. But I have found some interesting ways to get cool effects by controlling light without shelling out an arm and a leg, and a chunk of your mortgage, for a top class lens (or as the pros call it- 'good glass').
A creative photograph essentially boils down to creative control of light. Good glass (read- very expensive lens) is one that can open to a large aperture at long focal lengths. Google 'F number' for your desired level of explanation. The wikipedia link is here. A large aperture essentially allows the lens to take in more light. A large aperture also means that a lot of the light will pass close to the edge of the lens which is hard to make perfect. so naturally, the lenses are more expensive. Until a couple of months ago, I thought that getting fast glass was the only way to get great pictures. Then I discovered a cool way around it. Basically, if you can control how much light you work with, you can get great pictures with your existing kit lens. The great part is that the equipment needed for better light control costs a fraction of good glass and is a lot more forgiving to rough handling.
Strobist.com is an excellent first step for anyone wishing to take control of your light. It requires 2 main things- you are using a camera that has a hot-shoe (all dSLRs and some ultra-zoom cameras have this), and you have one or more external flash units. It then encourages you to take the flash off-camera. By doing so, you get to control both the direction and intensity of the light hitting the subject. The Strobist blog is pretty full-featured with how-to's and where-to's for complete beginners to advanced professionals. Here are some of my early attempts at 'controlling light'-
This photo shows you my test shots of the setup of wireless flash receiver set that I bought from Gadget Infinity. They are called the Cactus v2s and they stopped working after two days. I am using another stop-gap wireless trigger set with one flash for the time being till I have some $$$ saved to buy a more reliable set of triggers. You can see 2 flashes on the floor illuminating the closet door. The cool thing about wireless triggers is that you can sync more than one flash for optimal lighting.
The first pic was shot in ambient light (60W bulb). The second one was shot with a Sunpak Super 383 flash on the lower left of the flower. The effect on the composition is striking.
The picture above was shot with the flash on the left side. This creates a 'hard light' effect and also brings out the texture of the wall.
The flash is inside the vase.
Even when you fire the (external) flash on the camera, you can use what is called a 'snoot' to direct the light on a small spot on your subject as illustrated in the picture above. It is really easy to make a snoot. I just folded a cereal box to make a cuboidal 'tube' to fit on the flash head.
Though it is highly recommended to use dSLRs to get maximum flexibility, you may also use the popup flash of your megazoom camera for the same/ similar effects. I am of the opinion that you can be very creative with your point and shoots as well and good photographs depend on the photographer much more than on the camera. This is why I encourage people to first explore their current camera capabilities and hone their composition skills. Learn about lenses, f-numbers and exposures before jumping to buy a dSLR. There are far too many people who keep their dSLR on 'Auto', thereby making their creative input nil, which completely defeats the purpose of a dSLR. Get your camera dial off 'A' and get creative!


No comments:
Post a Comment